
Guides on stone, tiling & design
Practical, no-nonsense advice from people who install this material every week.

How to care for marble
Simple daily habits that keep marble looking new, and the mistakes that cause the most damage.
Read guide →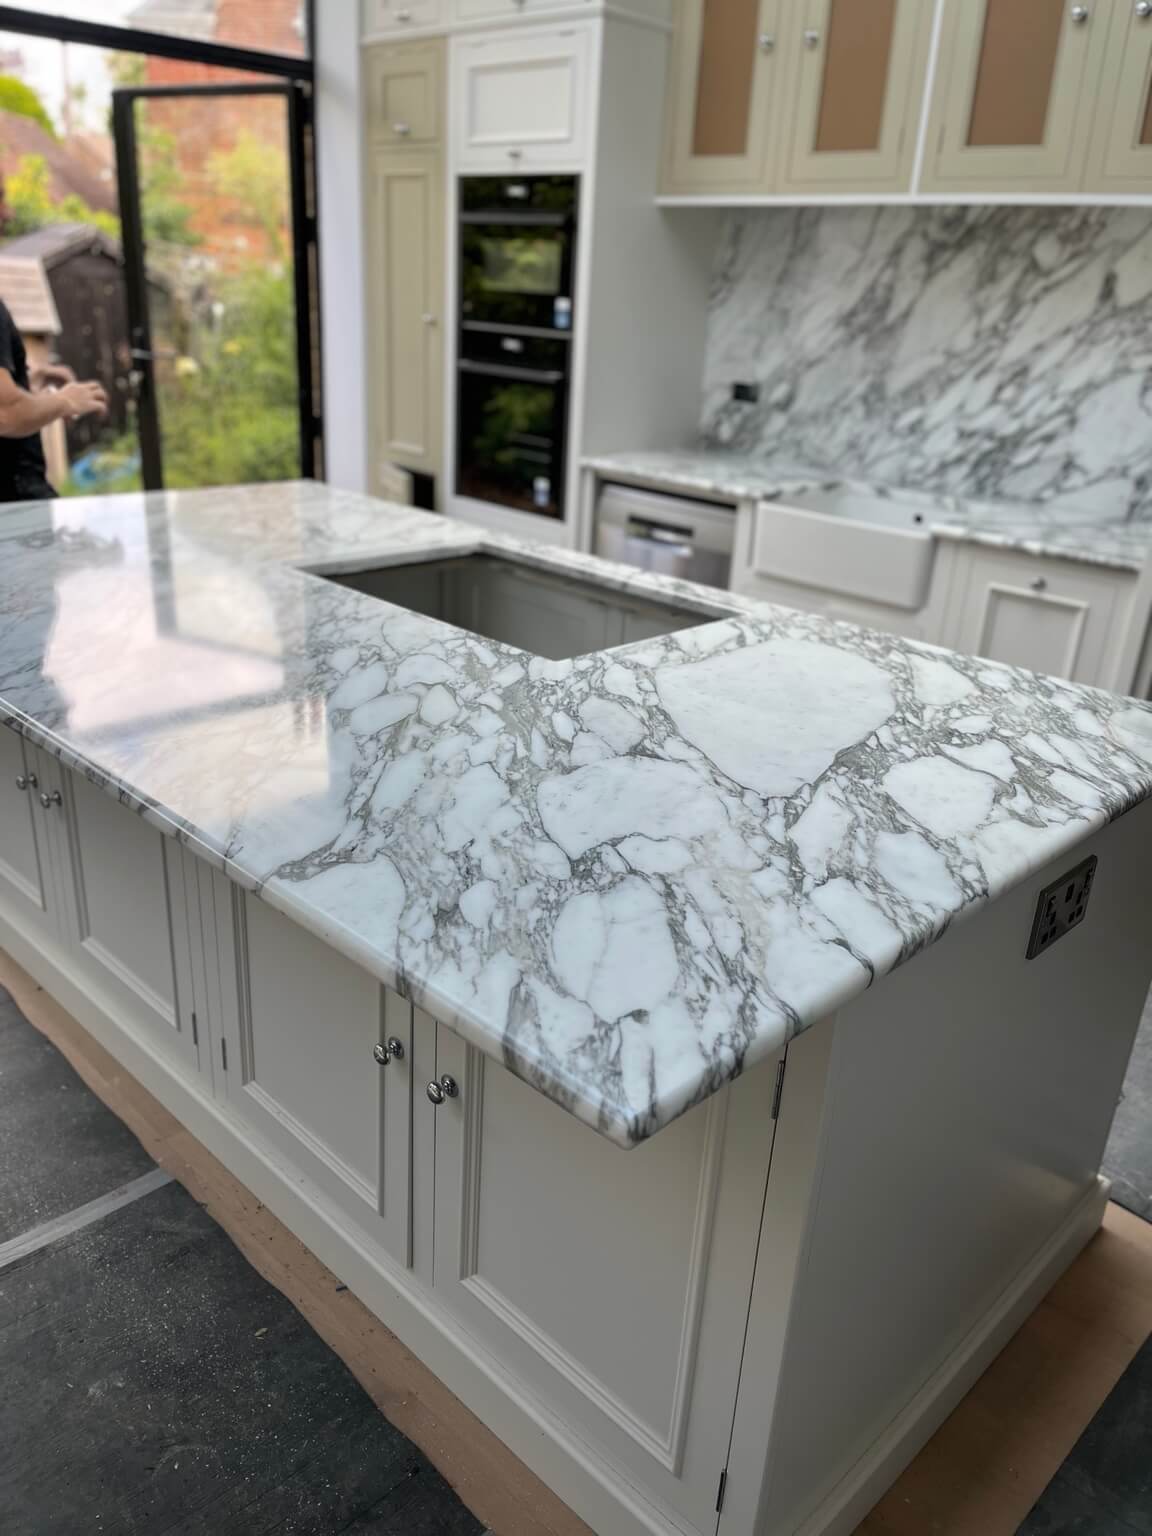
Designing a kitchen with stone
How to choose finishes, edge profiles and layouts that actually look premium — not just expensive.
Read guide →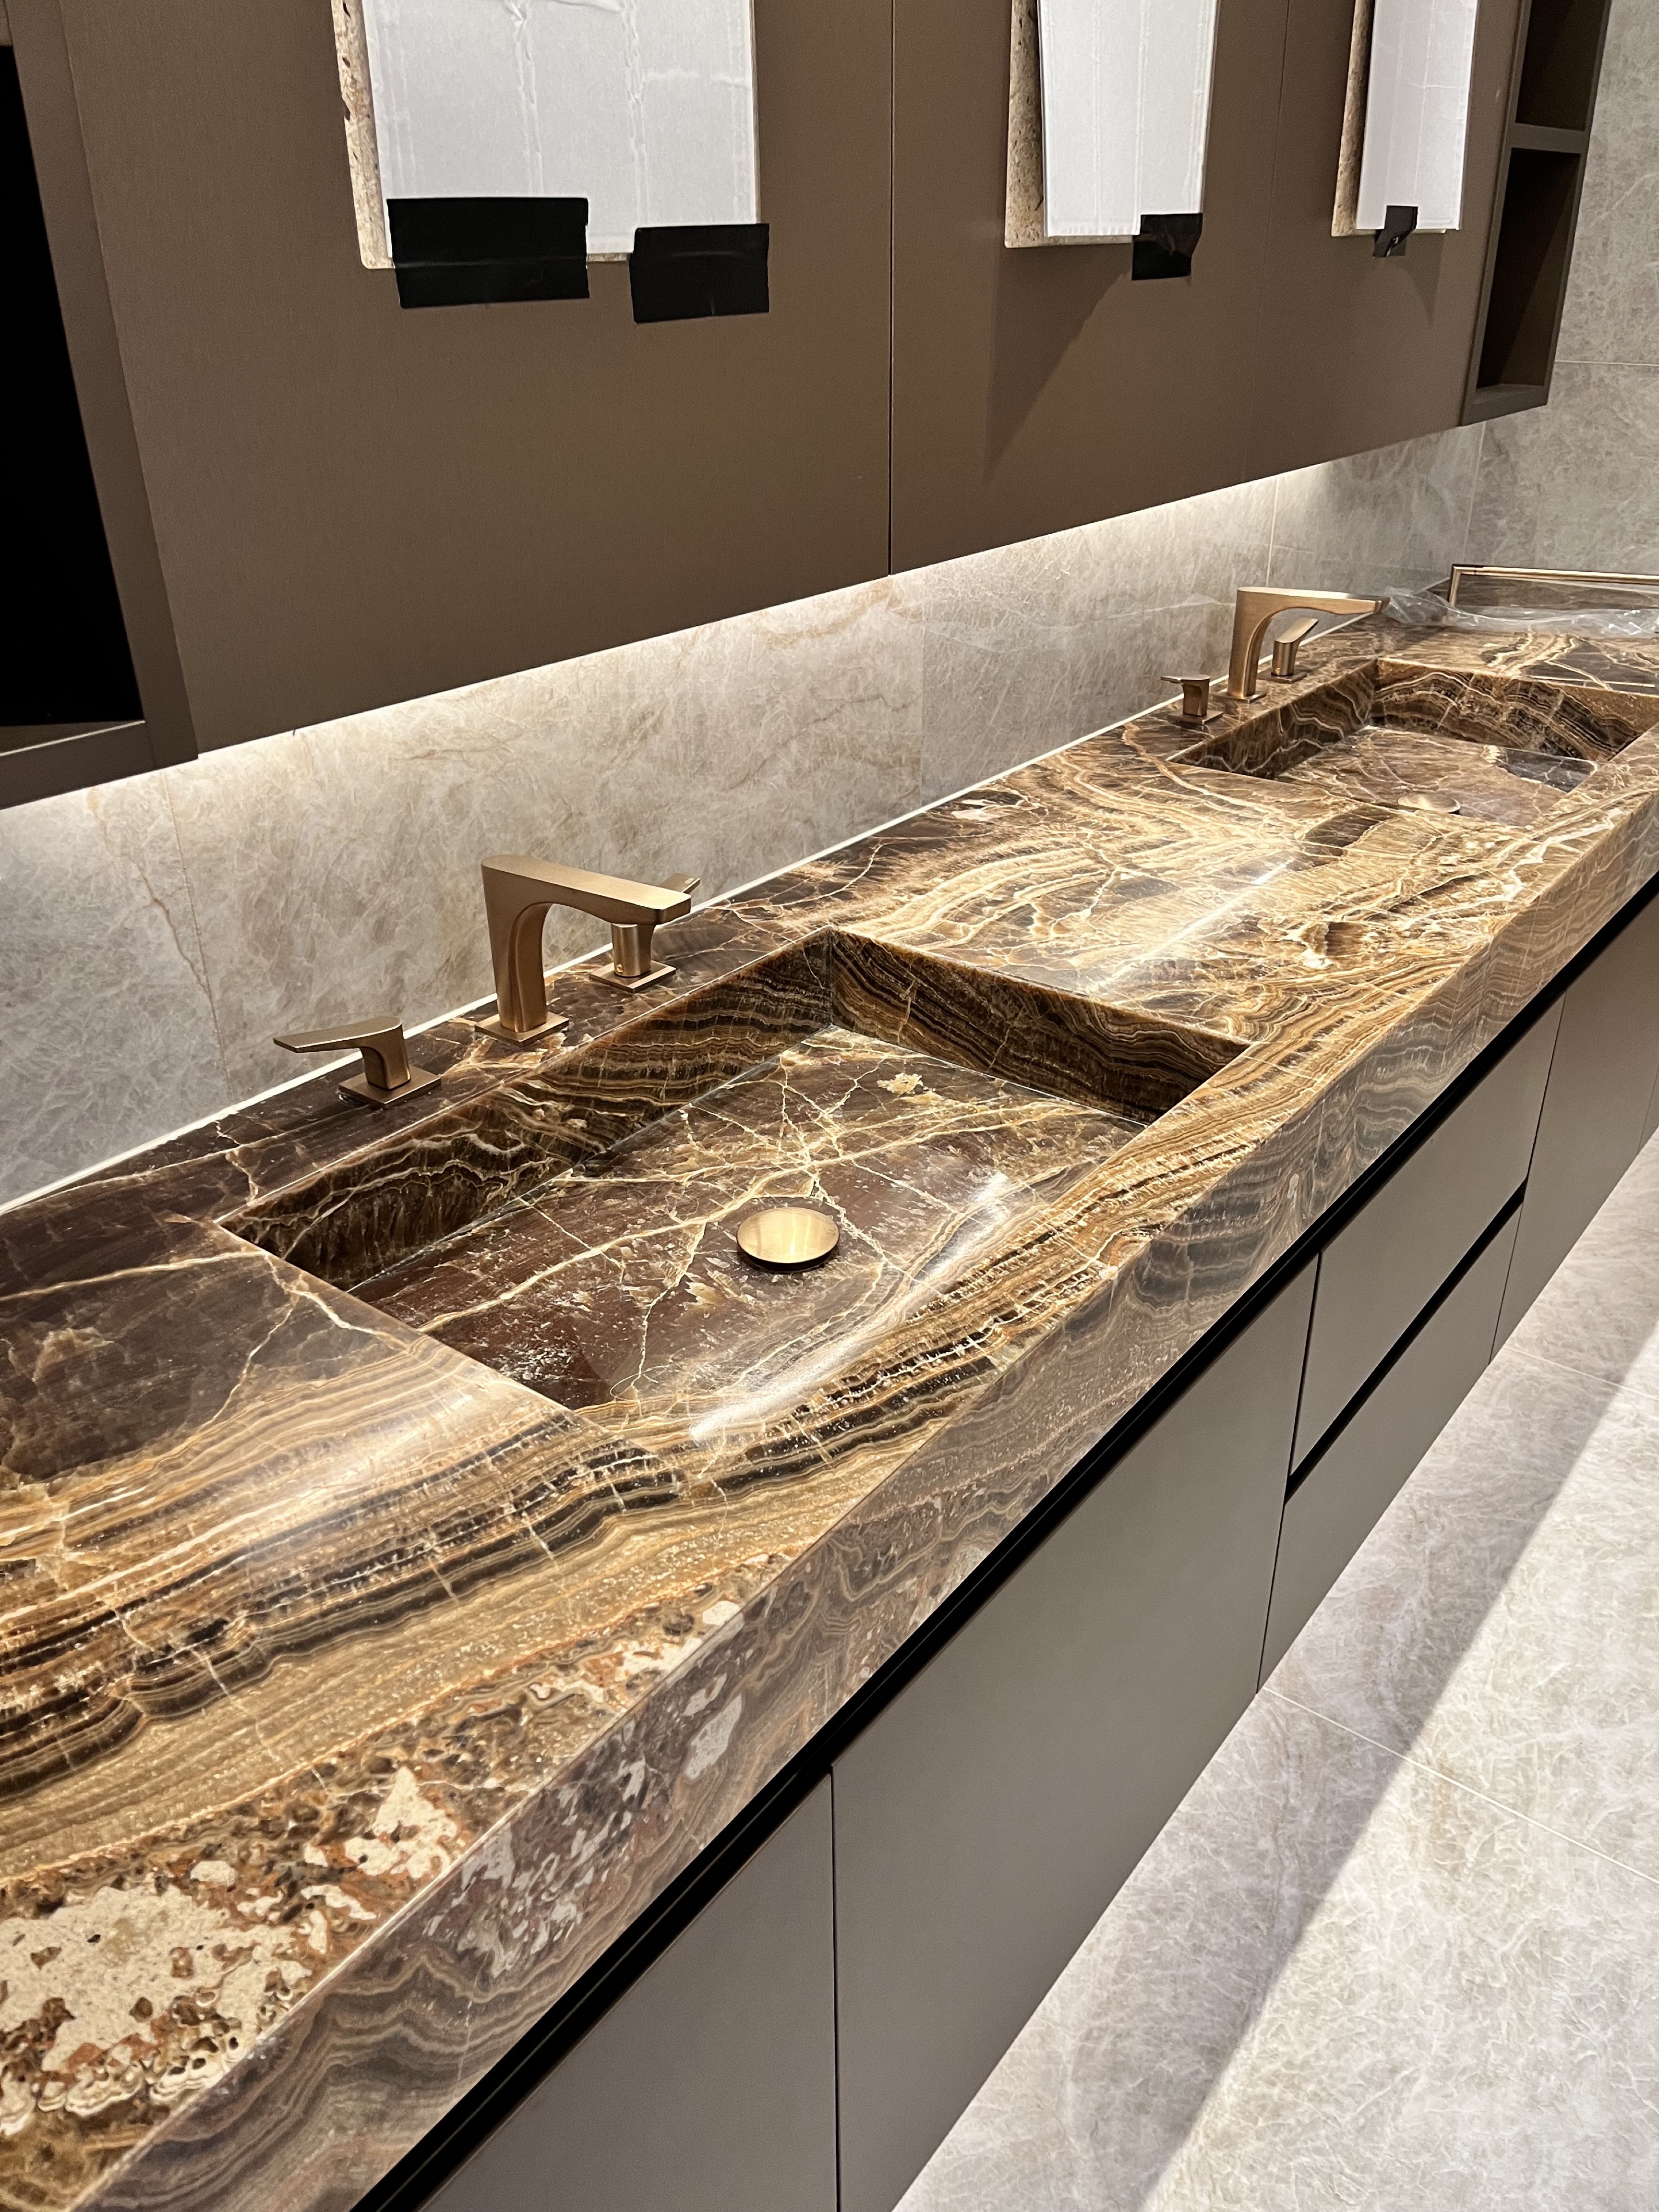
Bathroom stone: best options
What actually works in a wet room, plus sealing and maintenance tips specific to bathrooms.
Read guide →How to care for marble
Marble is one of the most beautiful worktop and wall materials you can install — and one of the more forgiving to live with, provided you understand a few basic rules.
Wipe up spills quickly
Marble is a natural, porous stone, which means acidic liquids like wine, lemon juice, coffee and vinegar can etch the surface if left to sit. This isn't the same as staining — etching dulls the polish rather than discolouring it — but either way, the fix is the same: wipe spills as soon as you notice them, with a soft cloth and warm water.
Use the right cleaning products
Everyday kitchen sprays are often too acidic or abrasive for marble. Stick to a pH-neutral stone cleaner, or warm water with a small amount of mild washing-up liquid. Avoid anything labelled as a limescale remover, vinegar-based cleaner, or generic "multi-surface" spray — these will dull the polish over time.
Reseal periodically
We seal every marble surface we install, but sealant wears down with use. A simple water test tells you when it's time to reseal: if water no longer beads on the surface and instead soaks in within a minute or two, it's due for a fresh coat.
Protect against heat and scratches
- Always use a trivet or board under hot pans — marble can crack from sudden temperature changes.
- Use a chopping board for food prep rather than cutting directly on the surface.
- Lift heavy items rather than dragging them across the worktop.
When to call a professional
Deep etching, chips, or cracks are best handled by a specialist rather than a DIY fix — an amateur repolish can leave visible dull patches that are harder to correct afterwards. If you're ever unsure, send us a photo on WhatsApp and we'll tell you honestly whether it's something to leave, something you can fix yourself, or something worth a site visit.
Designing a kitchen with stone
A stone worktop is often the single biggest visual decision in a kitchen renovation. Here's how to make it count.
Start with veining direction, not just colour
Two slabs of "the same" marble can look completely different depending on how the veining runs. Before ordering, ask to see the actual slab (or high-resolution photos of it) and think about how the veining will flow across joins, especially on an island where the eye naturally follows the longest run.
Choose an edge profile that matches the room
A pencil or eased edge reads as clean and contemporary. A bullnose or bevelled edge feels softer and more traditional. The edge profile is a small detail that quietly sets the tone for the whole kitchen — it's worth spending five minutes with samples rather than defaulting to whatever's standard.
Plan seams before you fall in love with a layout
Large islands or L-shaped runs often require a joint somewhere, simply because of slab size. A good installer will plan the seam location to be as unobtrusive as possible — often along a cabinet line rather than in the middle of open worktop — so raise this early rather than after templating.
Balance stone with the rest of the room
- A busy, high-veining marble usually pairs best with simple, flat-panel cabinetry.
- A quieter stone gives you more freedom to be bold with cabinet colour or hardware.
- Consider where the stone will be used — worktop only, or worktop plus splashback — since repeating it draws the eye and can either unify or overwhelm a small kitchen.
Think about the whole lifecycle
A beautiful stone that never gets sealed, or is treated like granite when it needs marble-level care, won't stay beautiful. Factor maintenance into your material choice from the start, not as an afterthought once it's installed.
Bathroom stone: best options
Bathrooms are the hardest environment for natural stone — constant moisture, temperature swings and daily contact with skincare products. Here's what actually holds up.
Porcelain for wet zones, marble for statement surfaces
For shower floors and enclosures, we usually recommend large-format porcelain over natural marble — it's non-porous, doesn't need resealing, and handles constant water exposure without any risk of staining. Save marble for vanity tops, feature walls and dry-zone flooring, where its natural beauty can shine without the daily water exposure.
Get the sealing right, and keep up with it
Any marble in a bathroom needs a quality sealant, applied properly at installation and checked every 6–12 months. Bathrooms see far more moisture than kitchens, so resealing schedules should be more frequent than you'd use elsewhere in the home.
Watch out for common bathroom products
- Perfume, aftershave and some skincare products are acidic enough to etch marble — keep them off stone surfaces where possible, or wipe up drips promptly.
- Standard bathroom cleaning sprays are often too harsh; use a pH-neutral stone cleaner instead.
- Hard water marks are best removed with a stone-safe cleaner, never a limescale remover.
Ventilation matters more than people think
Good extraction reduces the amount of standing moisture on stone surfaces, which in turn reduces how often you need to reseal and clean. If your bathroom doesn't have strong ventilation, it's worth addressing before — or alongside — a stone installation.
Our recommendation
For most London bathrooms we suggest porcelain tiling for the shower and floor, paired with a marble vanity top or feature wall as the visual centrepiece. It gives you the low-maintenance practicality of porcelain where it matters most, and the natural beauty of marble where it's safest to use it.